Quick-start
This page will show you how to install the different components used by Metatype. It will also go over a simple application to get you started.
- how to install the Metatype SDKs and tools.
- how to create and run a Metatype app.
1. Meta CLI
Metatype is only supported on macOS and Linux. Windows users should use Linux on Windows with WSL.
You can download the binary from the
releases page, make it
executable and add it to your PATH or use the automated method below.
-
An installer script is also provided for the CLI in our repository. Curl and install in it with the following one-liner. The installer may ask for your password.
curl -fsSL https://metatype.dev/installer.sh | bash
-
For later use, you can run the following command to upgrade
Meta CLIto a newer version. If your Meta CLI is up to date, you will get anAlready up to date!response.meta upgrade
That's it! You are done installing Meta CLI.
2. Typegraph SDK

Install the @typegraph/sdk package from npm using your preferred package manager and runtime. The SDK requires Node 16+ with Typescript 4.7+, Deno 1.28+ or Bun 1+.
npm install @typegraph/sdk
When using Node, make sure to add this to your Typescript configuration:
"moduleResolution": "node16", // Or "nodenext"
3. Typegate node
Using Embedded Typegate (Recommended)
meta dev
You can launch the embedded typegate via two subcommands, meta dev and meta typegate. Check the Embedded Typegate for more info.
The typegate instance runs on port 7890 by default. You can check if the typegate node is running by accessing http://localhost:7890 in your browser.
Using docker (Not Recommended)
Install Docker and use the following compose.yml to launch a typegate node. For multi-instance production workloads, Redis and an S3 object store provider are required but the typegate will run using in-memory stores if no SYNC_* environment variable is detected. More details can be found here. In practice you might also want to add a database or other systems that the typegate can connect to.
services:
  typegate:
    image: ghcr.io/metatypedev/typegate:latest
    ports:
      - "7890:7890"
    extra_hosts:
      - "host.docker.internal:host-gateway"
    environment:
      # only for dev, generate secure values for production
      TG_SECRET: "a4lNi0PbEItlFZbus1oeH/+wyIxi9uH6TpL8AIqIaMBNvp7SESmuUBbfUwC0prxhGhZqHw8vMDYZAGMhSZ4fLw=="
      TG_ADMIN_PASSWORD: password
      DEBUG: "true"
# launch the containers
docker compose up --detach

# watch the typegate logs
docker compose logs typegate --follow
4. Verify your installation
The doctor subcommand will attempt to detect all the components and report any potential issue. Please make sure to run it before opening an issue and include the output in your report.
meta doctor
After Sucessful installation, the above command produces an output somewhat similar to the one below.
user@first-project:~$ meta doctor
————————————————————��——————— Global ———————————————————————————
curr. directory /Users/user/Documents/metatype-playground/projects/first-project
global config /Users/user/Library/Application Support/dev.metatype.meta/config.json
meta-cli version 0.3.6
docker version Docker version 24.0.7, build afdd53b
containers bitnami/minio:2022 (Up 3 days), postgres:15 (Up 3 days), bitnami/redis:7.0 (Up 3 days), envoyproxy/envoy:v1.26-latest (Up 3 days), redis:7 (Up 3 days), rabbitmq:3-management (Up 45 hours)
—————————————————————————— Project ——————————————————————————
metatype file metatype.yaml
targets [2] deploy (remote, 3 secrets), dev (local, 3 secrets)
typegraphs [0]
———��—————————————————————— Python SDK —————————————————————————
python version Python 3.11.3
python bin ../../../../../../Library/Caches/pypoetry/virtualenvs/example-paIt3smx-py3.11/bin/python
venv folder not found
pyproject file pyproject.toml
pipfile file not found
requirements file not found
typegraph version 0.3.6
——————————————————————— Typescript SDK ———————————————————————
deno version deno 1.39.4
node version v18.16.0
┌————————————————————————————————————————————————————————————┐
| In case of issue or question, please raise a ticket on: |
| https://github.com/metatypedev/metatype/issues |
| Or browse the documentation: |
| https://metatype.dev/docs |
└————————————————————————————————————————————————————————————┘
Writing your First App
Now you are ready to develop for your first app! You can use meta doctor to check if neccessary components are installed. Let's start by creating a working directory for the project. Open your terminal and run the following commands.
mkdir first-project
cd first-project
Now that you have your workspace and development environment setup, let's start building a simple CRUD application.
The SDK used for developing Metatype applications is the Typegraph. Currently, it's available through Typescript and Python.
There are two variations to write your app using Typescript. You can either use node or deno as the TypeScript runtime. For now, you will be using node. To bootstrap a node Metatype project, you can run the following commands.
# create startup files
meta new --template node

# install dependencies
npm install
This will create the necessary files for development, some of which are:
.graphqlrc.yaml: configuration file to define settings and options related to GraphQL.compose.yml: is where the typegate node and similar services are setup.metatype.yaml: is where you configure different variables such as authentication, secrets... used by the backend.
The command also creates a directory called api where you will be building much of your applications's business logic. Inside the api directory, you will find a single file called example.ts which defines a simple Typegraph.
import { Policy, t, typegraph } from "@typegraph/sdk";
import { DenoRuntime } from "@typegraph/sdk/runtimes/deno";
import { PythonRuntime } from "@typegraph/sdk/runtimes/python";

typegraph("example", (g) => {
  const pub = Policy.public();
  const deno = new DenoRuntime();
  const python = new PythonRuntime();

  g.expose({
    add: python
      .fromLambda(
        t.struct({ first: t.float(), second: t.float() }),
        t.float(),
        { code: "lambda x: x['first'] + x['second']" },
      )
      .withPolicy(pub),
    multiply: deno
      .func(t.struct({ first: t.float(), second: t.float() }), t.float(), {
        code: ({ first, second }) => first * second,
      })
      .withPolicy(pub),
  });
});
Let's break down the above code snippet. The typegraph function is your building block and it encompasses most of the app logic inside. It takes a name and a callback function as an argument. All the magic is done inside the callback function.
Metatype uses Policy Based Access Control for accessing resources in your backend and here you have defined a public access.
const pub = Policy.public();
There are two runtimes defined namely PythonRuntime and DenoRuntime. You will be using these two runtimes to perform different data operations along with the other runtimes Metatype provides.
const deno = new DenoRuntime();
const python = new PythonRuntime();
Now that you have runtimes to process data and you have specified your access control, you need to define endpoints to communicate with your backend. This is where you use the g.expose method to enumerate the endpoints you want in your application. From the starter file, you can see that you have defined two endpoints, add and multiply.
g.expose({
  add: python
    .fromLambda(t.struct({ first: t.float(), second: t.float() }), t.float(), {
      code: "lambda x: x['first'] + x['second']",
    })
    .withPolicy(pub),
  multiply: deno
    .func(t.struct({ first: t.float(), second: t.float() }), t.float(), {
      code: "({first, second}) => first * second",
    })
    .withPolicy(pub),
});
Let's dive into what the add endpoint is doing. The add endpoint defines a custom function which does data processing using the PythonRuntime. When you are defining the custom function, you pass the input type, output type and then a function.
That's it! You have created your first Metatype app. It's as easy as this. Before you go ahead and test your app, let's add two more endpoints which peform basic Create and Read database operation.
In order to exercise database capabilities, you need to build a table schema or a model. The typegraph SDK provides rich Types which you can use to create any database table that fits to your usecase. Let's create a simple Message table which has fields id, title and body. This is what it will look like in code.
const message = t.struct(
  {
    id: t.integer({}, { asId: true, config: { auto: true } }), // configuring your primary key
    title: t.string(),
    body: t.string(),
  },
  { name: "message" }, // the name of your type
);
Great! Now you need a runtime which processes database requests. You will be using another runtime that comes out of the box with Metatype. i.e the PrismaRuntime. Let's go ahead and introduce the PrismaRuntime to your app. You can add the following code below the two runtimes that were predefined.
...
const python = new PythonRuntime();
const db = new PrismaRuntime("database", "POSTGRES_CONN");
Last, you need to expose a Create and Read endpoints to your database table. Let's add these two lines to g.expose.
...
g.expose({
    ...,
    // add following to your typegraph
    create_message: db.create(message).withPolicy(pub),
    list_messages: db.findMany(message).withPolicy(pub),
});
With these three simple steps, you were able to build a basic backend with database capabilities. Finally, this is what your typegraph looks like in example.ts.
import { Policy, t, typegraph } from "@typegraph/sdk";
import { DenoRuntime } from "@typegraph/sdk/runtimes/deno";
import { PythonRuntime } from "@typegraph/sdk/runtimes/python";
import { PrismaRuntime } from "@typegraph/sdk/providers/prisma";

typegraph(
  {
    name: "quick-start-project",
    cors: { allowOrigin: ["https://metatype.dev", "http://localhost:3000"] },
  },
  (g) => {
    // access control
    const pub = Policy.public();

    // runtimes
    const deno = new DenoRuntime();
    const python = new PythonRuntime();
    const db = new PrismaRuntime("database", "POSTGRES");

    // types, database tables
    const message = t.struct(
      {
        id: t.integer({}, { asId: true, config: { auto: true } }), // configuring our primary key
        title: t.string(),
        body: t.string(),
      },
      { name: "message" }, // the name of our type
    );

    // custom functions
    const add = deno.func(
      t.struct({ first: t.float(), second: t.float() }),
      t.float(),
      { code: "({first, second}) => first + second" },
    );
    const hello = python.fromLambda(
      t.struct({ world: t.string() }),
      t.string(),
      { code: `lambda x: f"Hello {x['world']}!"` },
    );

    g.expose(
      {
        add,
        hello,
        create_message: db.create(message),
        list_messages: db.findMany(message),
      },
      pub,
    );
  },
);
You are almost there to test your first Metatype application. You now need to spin a Tyepgate and deploy your typegraph to the instance. You can leverage the embedded typegate that comes with the Meta CLI. To run the embedded typegate, execute the following command from your terminal.
meta dev
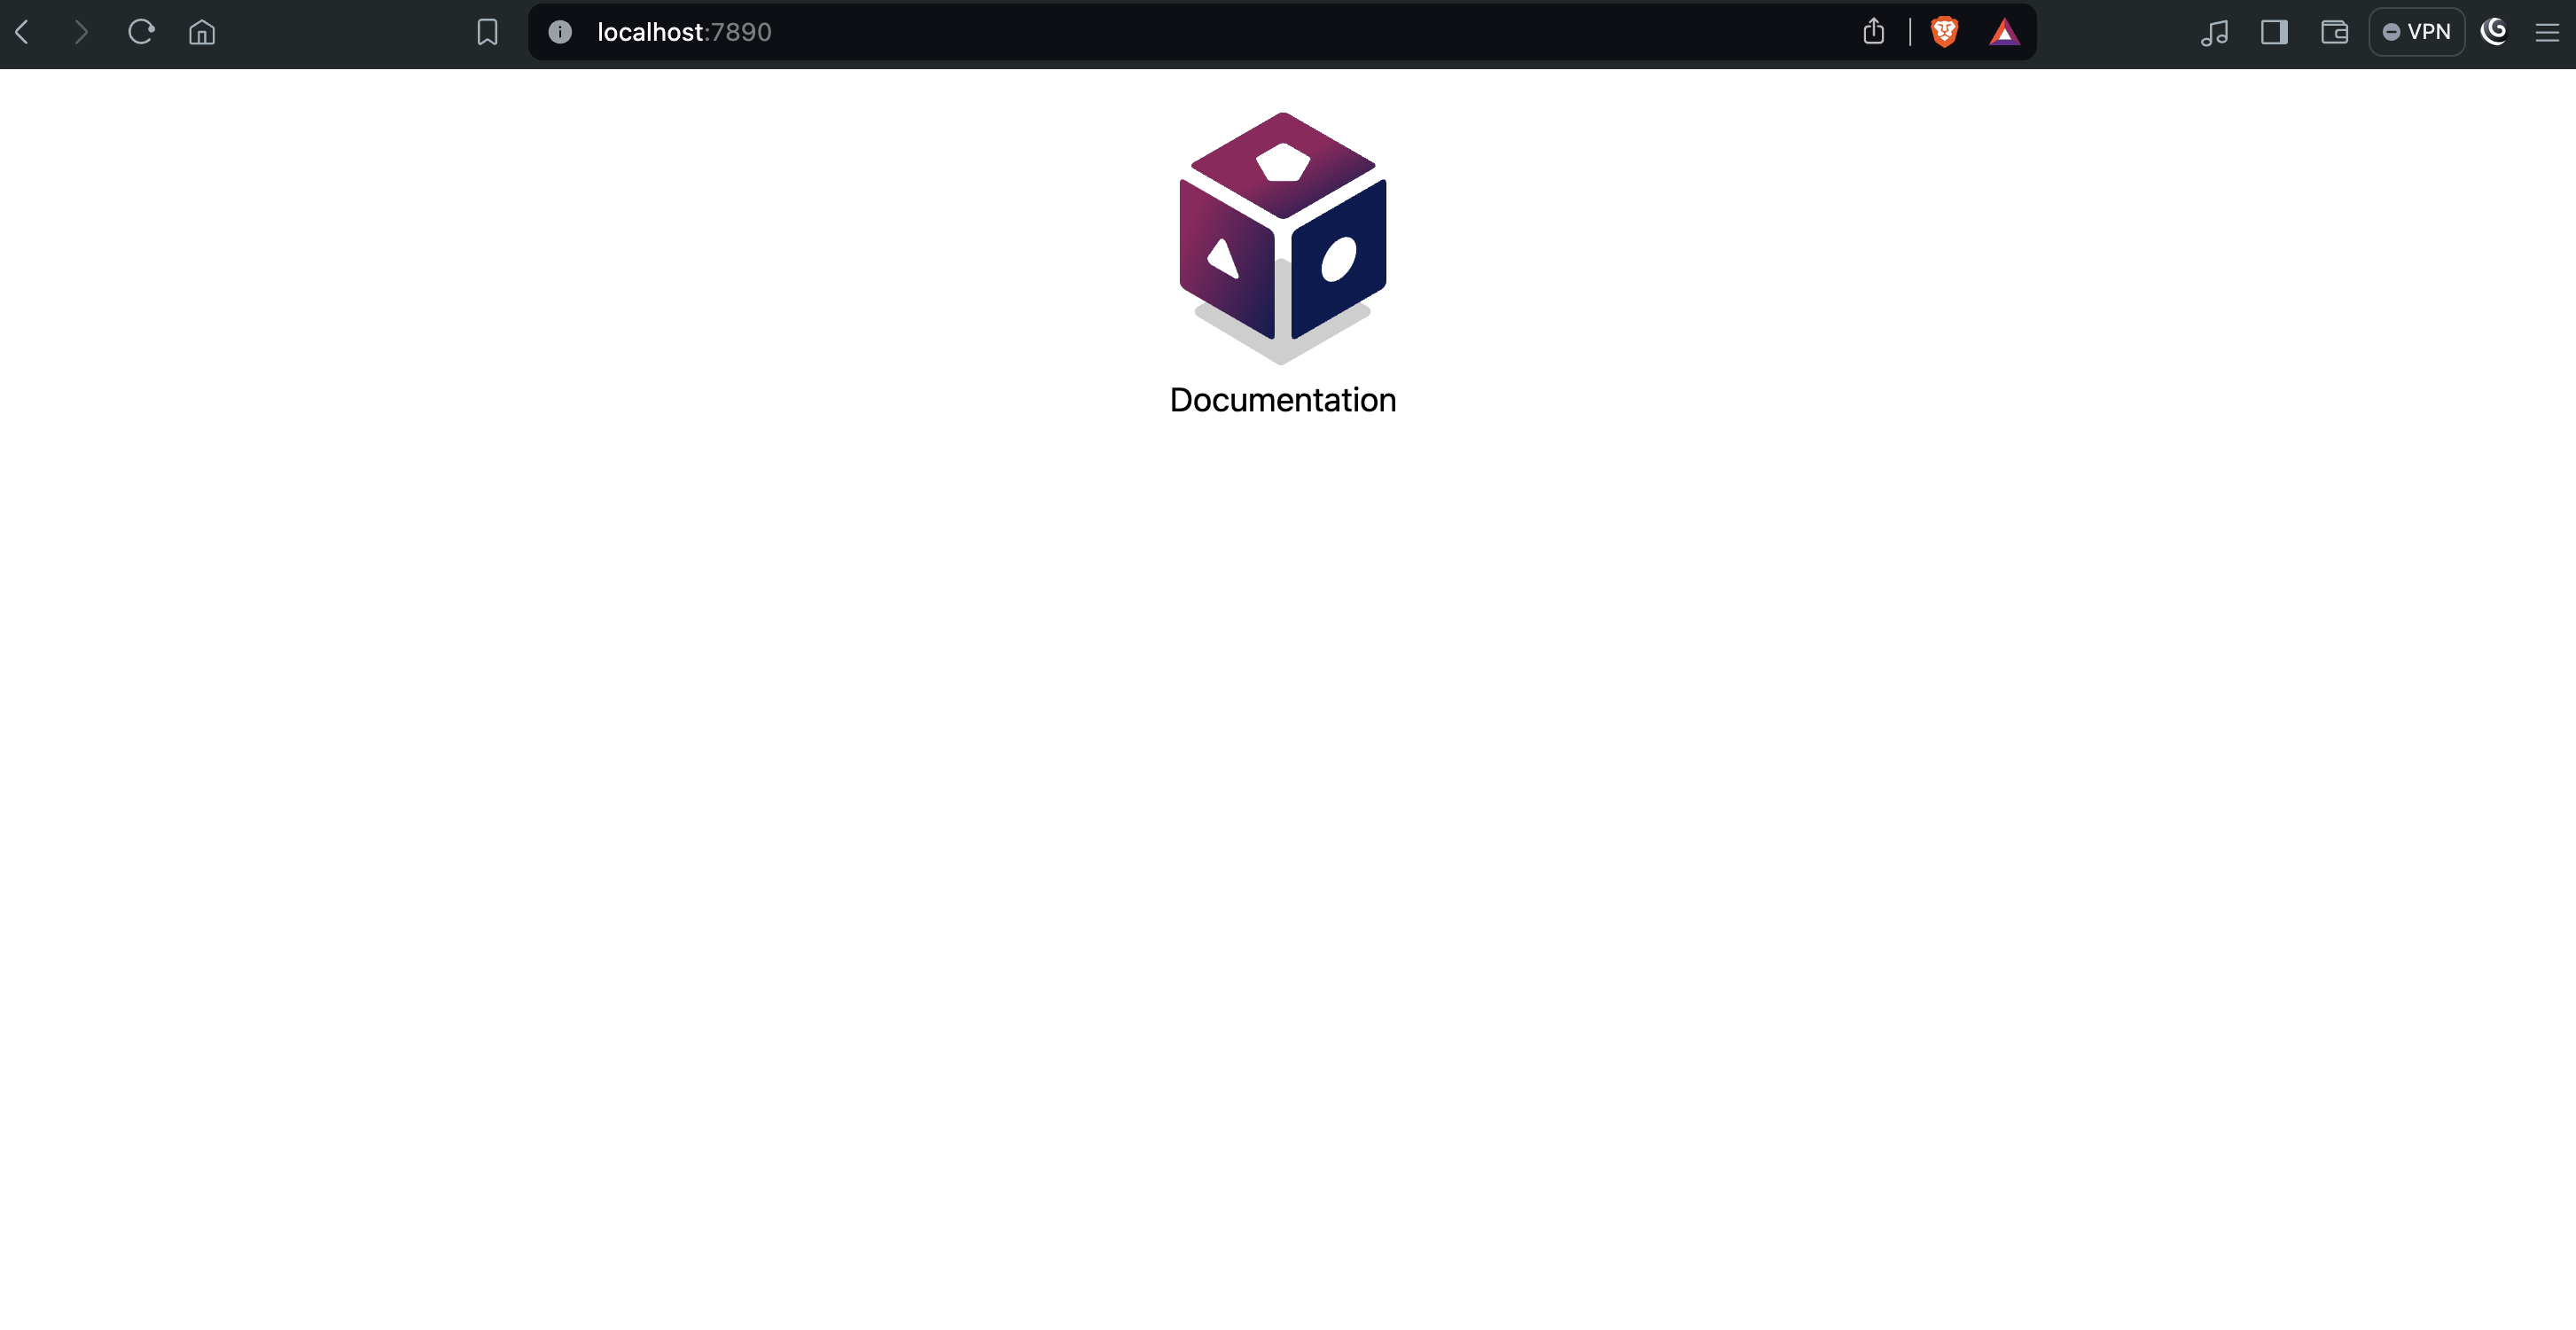
Once you started your typegate instance using one of the available choice, if you open localhost:7890 in your browser, you will get a webpage similar to this one.
To deploy your typegraph to the typegate engine, there are two approaces you can follow. You can either use self-deploy which comes with the typegraph SDK or the Meta CLI. For now, you will be deploying your typegraph using the Meta CLI. Execute the command below on your terminal to deploy the typegraph.
meta deploy -f api/example.ts --allow-dirty --create-migration --target dev --gate http://localhost:7890
Upon successful deployment of the typegraph, you should recieve a response similar like this.
(example-py3.11) user@pc first-project % meta deploy -f api/example.py --allow-dirty --create-migration --target dev --gate http://localhost:7890
[INFO] Loading module "/Users/user/Documents/metatype-playground/projects/first-project/api/example.ts"
[INFO] Loaded 1 typegraph from "/Users/user/Documents/metatype-playground/projects/first-project/api/example.ts": example
[INFO] All modules have been loaded. Stopping the loader.
[INFO] Pushing typegraph example (from '/Users/user/Documents/metatype-playground/projects/first-project/api/example.ts')
[INFO] ✓ Successfully pushed typegraph example.
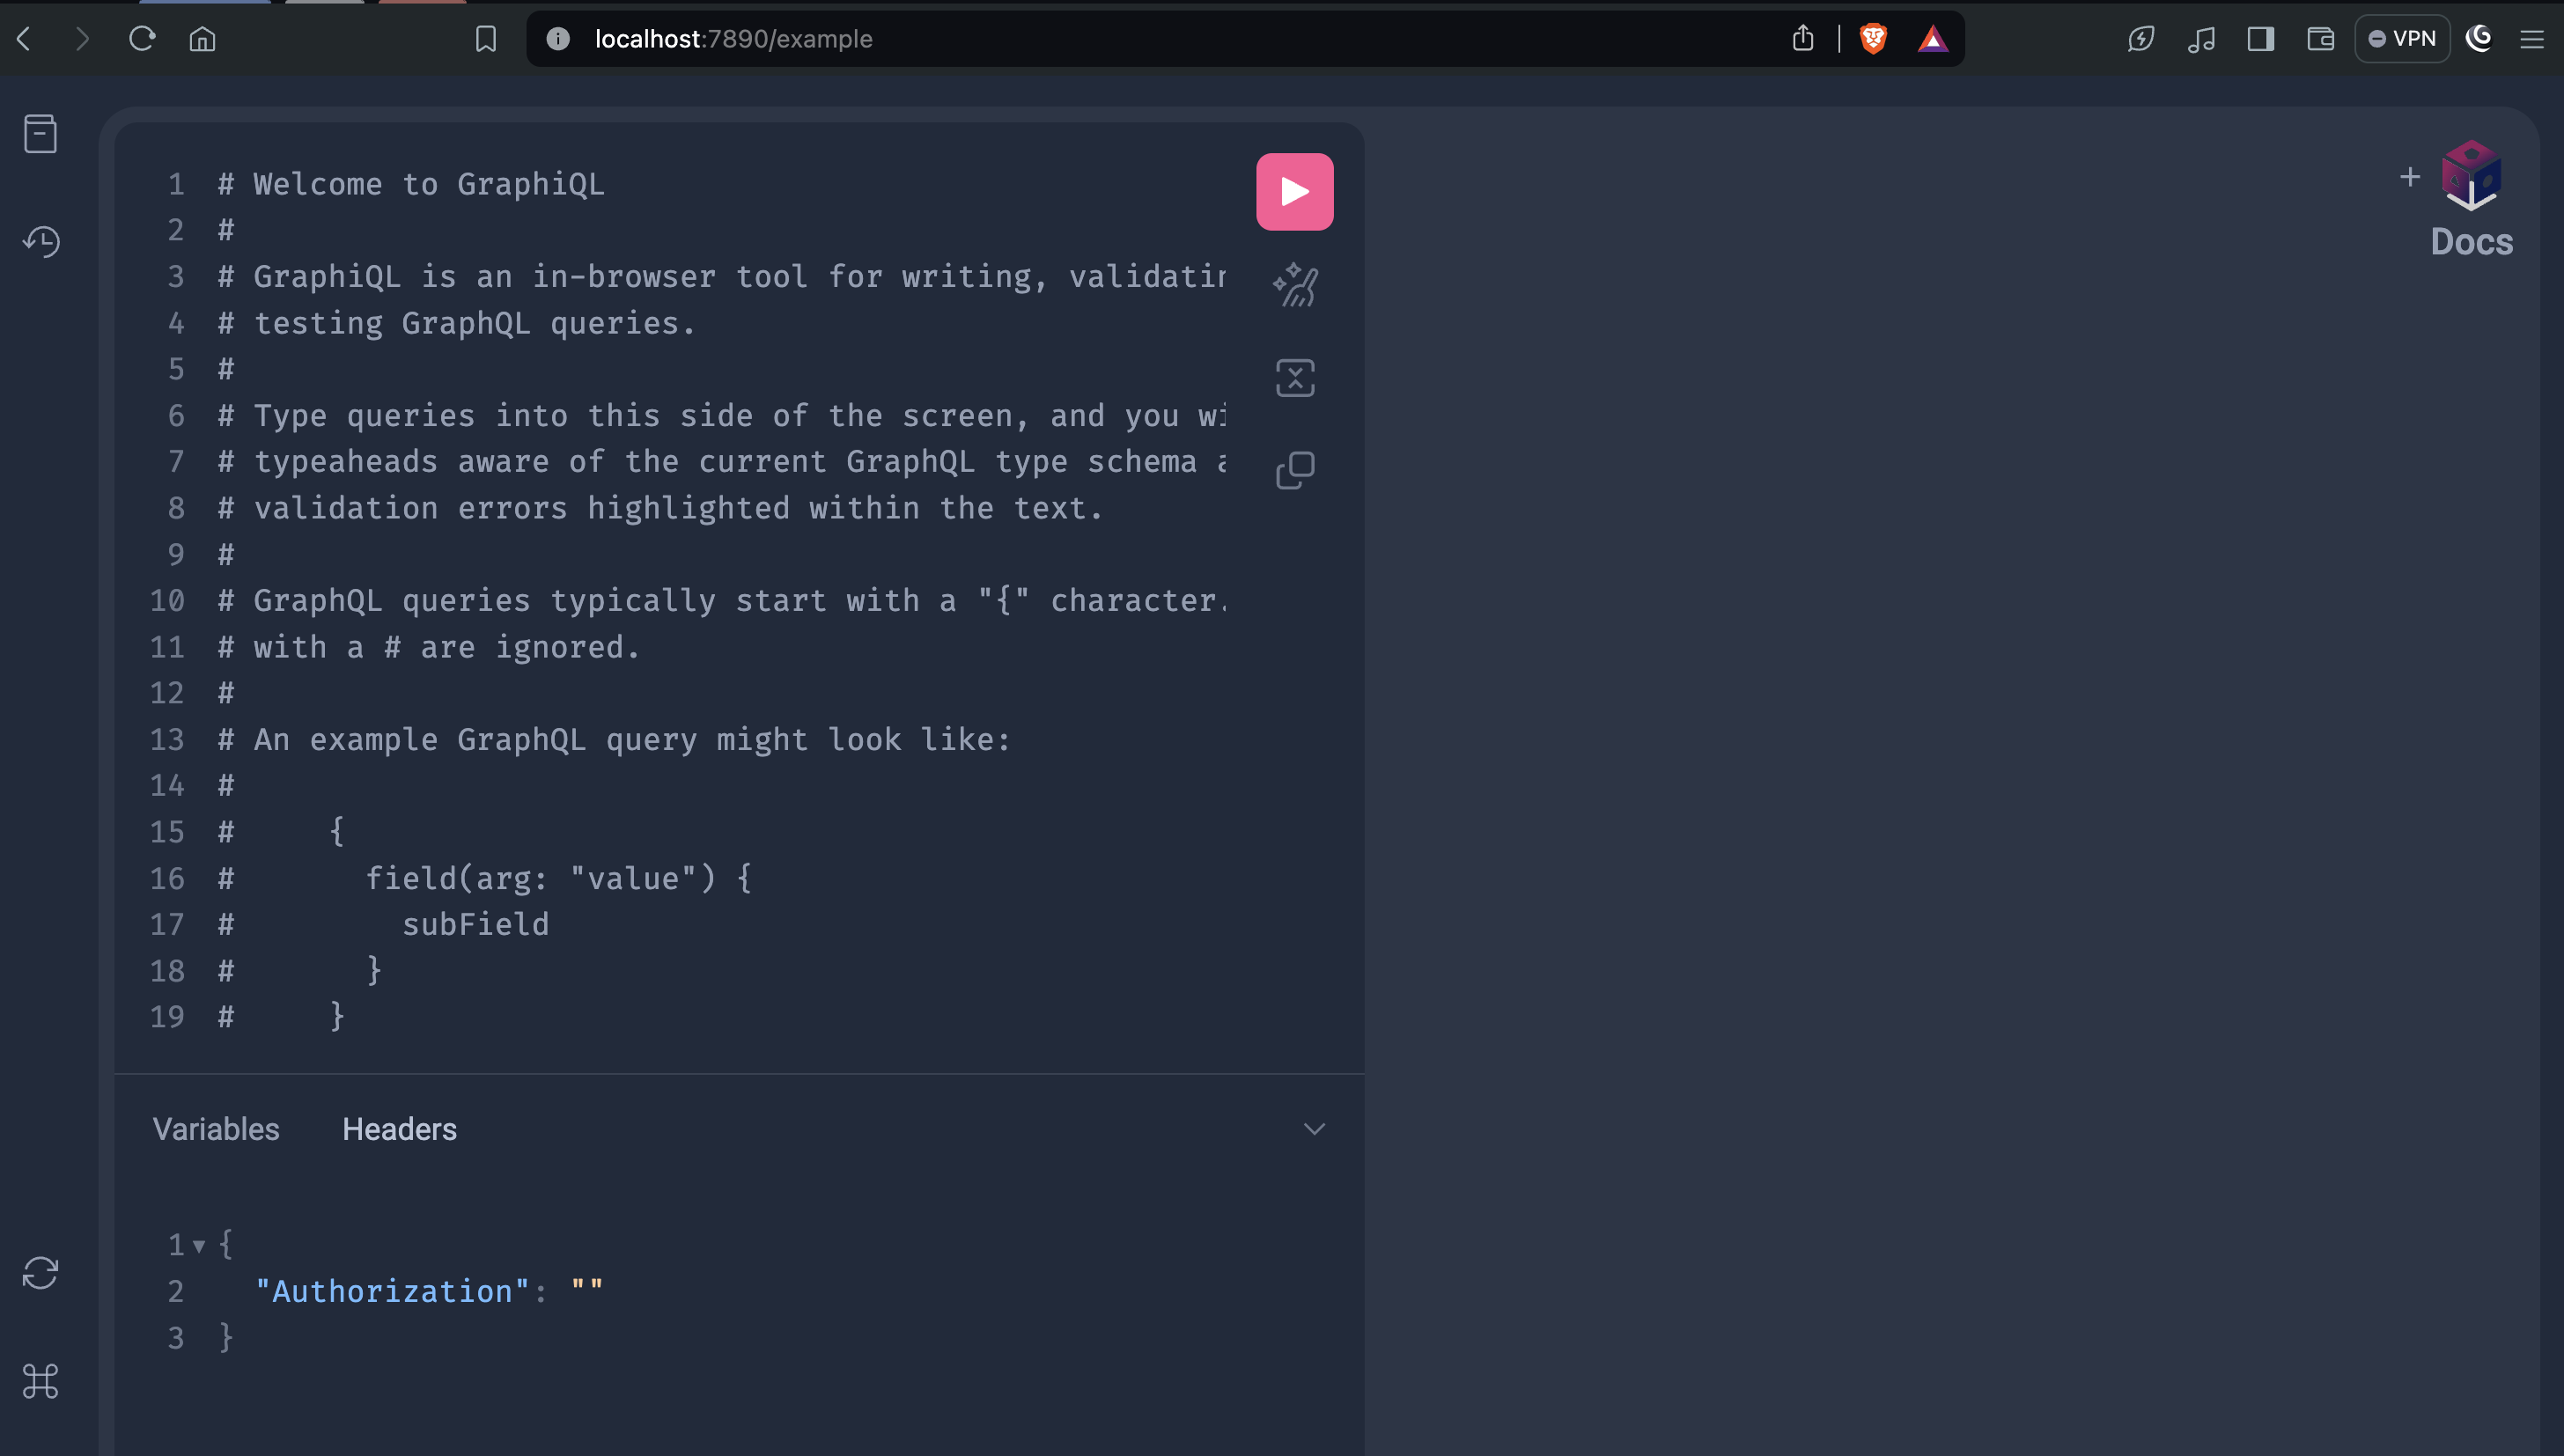
You have deployed your first typegraph. It's time to run and test your backend which is running on the typegate instance. Click here to open a GraphiQL interface and interact with your backend through graphql queries from your browser. You should get a page similar to the one below.
Now you can play with your app through the interface. You can try this graphql query as a start.
Create a message using the following mutation.
mutation {
  create_message(
    data: {
      title: "First typegraph"
      body: "Congrats on your first typegraph."
    }
  ) {
    id
  }
}
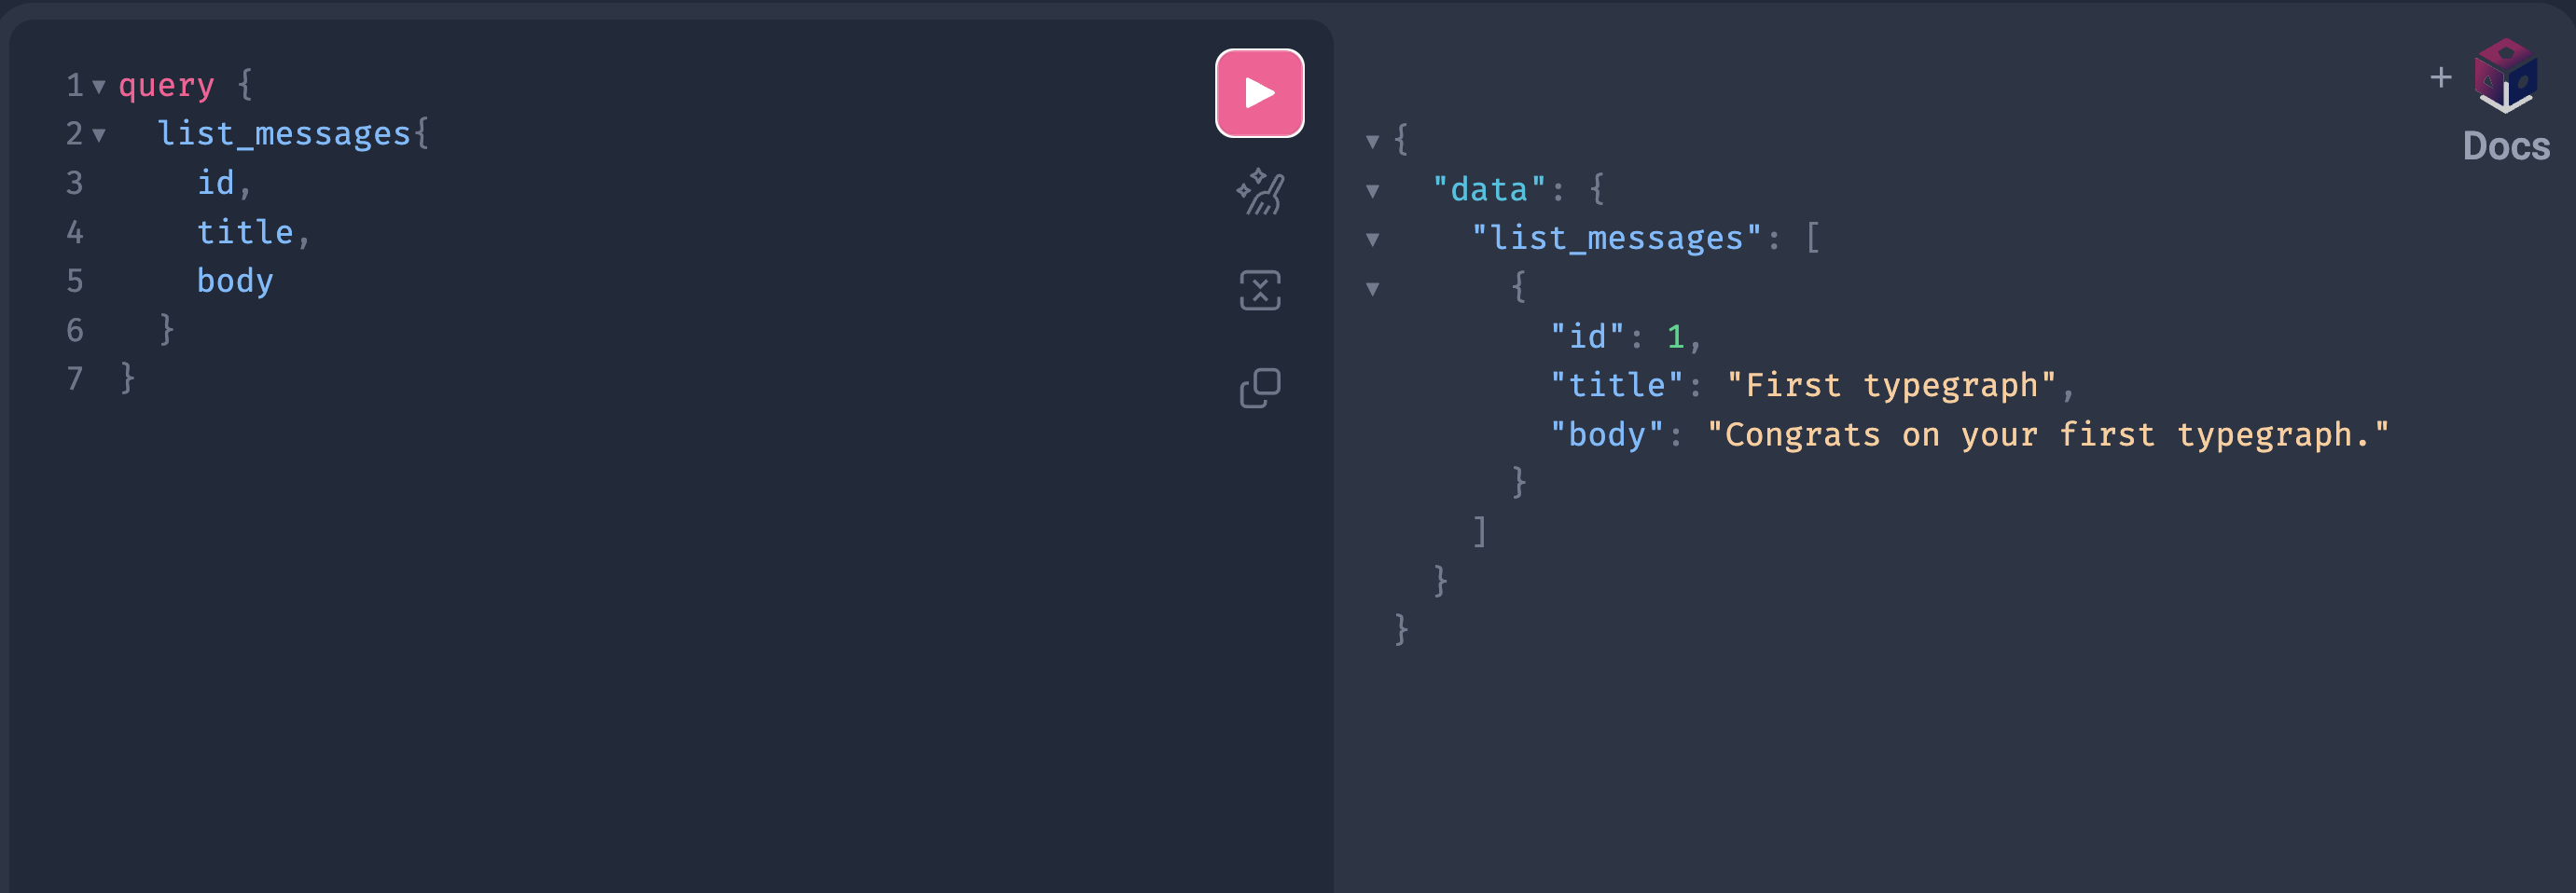
Then, fetch the created message using the query below.
query {
  list_messages
}
You should get a response from the typegate similar to then one below.
You can also try out what you have built so far here on this playground.